
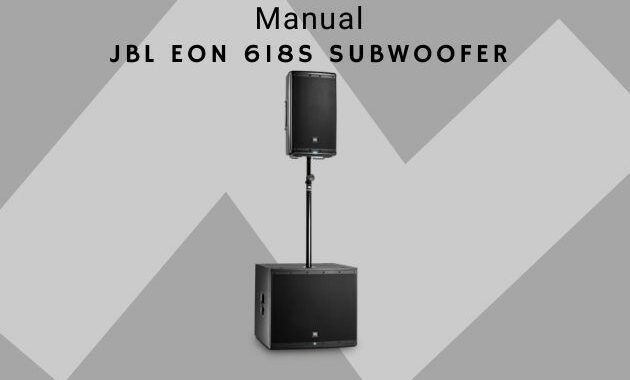
JBL EON618S Manual
The JBL EON 618S Manual will help you set the subwoofer sound to be proportional. In this user guide there are several points of later importance regarding assembly, and troubleshooting.
On this web page we provide a snippet of the pdf manual. Listen carefully so you can make the JBL EON 618S subwoofer work optimally.
Table of contents pdf user manual JBL EON 618S
- Safety Instructions
- Declaration Of Conformity
- Quick Setup Guide
- Back Panel
- Overview – EON Family
- EON Family – Block Diagram
- EON615 Specifications
- EON612 Specifications
- EON610 Specifications
- EON618S Specifications
- Purposeful Product Design
- Coverage
- Bluetooth Integration
- Loudspeaker Placement and Suspension
- Application Examples
- Troubleshooting
- Warranty Information
- Contact Information
Quick Setup Guide
Power It On
- Confirm the Power Switch ( O ) is in the OFF position.
- Connect the supplied power cord to the power receptacle on the rear of the speaker.
- Connect the power cord to an available power outlet.
- Flip on the Power Switch ( O ) and the Power LED ( A ) and the Power LED on the front of the speaker will illuminate.
Plug In The Inputs
- Turn Channel Gain Controls ( H ) and Master Volume Control ( L ) all the way to the left before connecting any inputs
- Connect XLR or TRS cable from audio source to CH1 or CH2 inputs ( M )
- Select Mic or Line via the Mic/Line Button ( K; Full-Range Only )
Set Output Level
- Using the EQ Preset ( F ) button, select the appropriate preset to match your application ( FullRange Only ).
- Set the gain level for the input using the Channel Gain ( H ) controls. A good starting point is to set the pot at 12 o’clock.
- Slowly turn Master Volume ( L ) to the right until the desired volume is reached.
Loudspeaker Placement And Suspension
The following guidelines will help you achieve optimum sound wherever you use your EON ® loudspeakers:
Only experienced professionals should attempt to suspend the speakers.
For permanent installation applications utilizing the M10 suspension points, JBL Professional recommends the use of three (3) M10 x 1.5 thread pitch forged shoulder steel eye bolts with an 18-20mm threaded shaft, along with fender washers, rated for overhead suspension. Users unfamiliar with safe rigging practices should not attempt to suspend loudspeakers. Please see https://www.jblpro.com/pub/technote/tn_v1n14.pdf for more information.
Raise the speakers as high as possible.
For best results try to get the high frequency horn at least 2 to 4 feet above the heads of the audience. If the speakers are too low, the people in the back of the audience will not receive the best quality sound.
Place the speakers between the microphones and the audience.
Feedback occurs when the microphones pick up sound from the speakers and “feed” the sound back through the sound system. If space is limited, point the speakers away from the microphones to reduce feedback.
Locate the speakers away from turntables.
Low-frequency feedback occurs when the output of the speaker is picked up by the tone arm of the turntable and is re amplified. A heavy, solid turntable base and shock mounting can also reduce this type of feedback in DJ applications.
Use more speakers in large or highly reverberant spaces.
Spreading speakers throughout these spaces will produce much better sound than trying to compensate with loudness level or equalization. For very long distances, the use of another set of speakers with time delay is recommended. Stand speakers upright for PA – Tilt the speakers back on the side for stage monitoring. Upright stance provides even coverage over a wide area. EON speakers are also designed with two slanted positions for stage monitoring applications.
Troubleshooting
To see how to troubleshoot the JBL EON 618S, you can download the pdf user manual that we have attached to this website. Please scroll your mouse down and click the download button to get a more complete user manual. Thank you for visiting this website.
