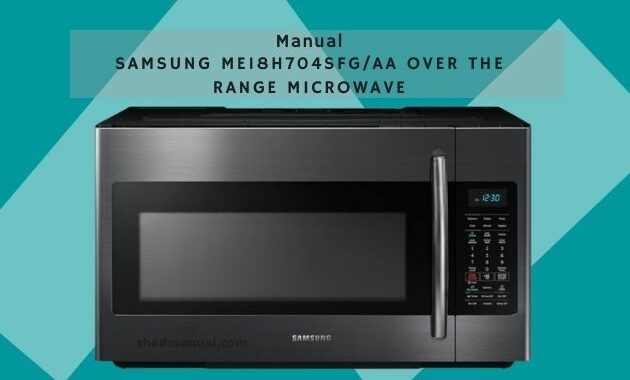
Manual Samsung ME18H704SFG/AA Over The Range Microwave

No need to worry about your new microwave range. We will help you to use it properly and correctly. This time we will share the Manual Samsung ME18H704SFG/AA Over The Range Microwave.
Many people are looking for information related to newly purchased equipment. Lots of resources to get that information. To help you get to know about the Samsung ME18H704SFG/AA Over The Range Microwave, we provide a user manual that you can download at the end of this page.
We will however provide a snippet from the Samsung ME18H704SFG/AA pdf manual. Please read and understand so you can use your microwave properly.
Setting Up Your Microwave Oven
Be sure to follow these instructions closely so that your new microwave oven works properly.
Checking The Parts
Carefully unpack your microwave oven, and make sure you’ve received all the parts shown below. If your microwave oven was damaged during shipping, or if you do not have all the parts, contact Samsung Customer Service.
If you need an accessory marked with an * (asterisk), please contact the Samsung Call Center using the phone number listed on the last page of this manual or visit our on-line parts website at www.samsungparts.com.
Troubleshooting
Check these solutions if you have a problem with your microwave:
- The display and/or the oven is not working: Make sure the plug is properly connected to a grounded outlet. If the wall outlet is controlled by a wall switch, make sure the wall switch is turned on. Remove the plug from the outlet, wait ten seconds, and plug it in again. Reset the circuit breaker or replace any blown fuses. Plug a different appliance into the outlet. If the other appliance doesn’t work, call a qualified electrician to repair the wall outlet. Plug the oven into a different outlet.
- The display is working, but the power won’t come on: Make sure the door is closed securely. Check if any packaging material or anything else is stuck in the door seal. Check if the door is damaged. Touch Cancel twice and enter all the cooking instructions again.
- Is the power going off before the set time has elapsed?: If there was a power outage, the time indicator will display: 88:88. If no power outage occurred, remove the plug from the outlet, wait ten seconds, and plug it in again. Reset the clock and any cooking instructions. Reset the circuit breaker or replace any blown fuses.
- Cook food too slowly: Make sure the oven has its own 20 amp circuit line. Operating another appliance on the same circuit can cause a voltage drop. If necessary, move the oven to its own circuit.
- Has sparks or arcing: Remove any metallic utensils, cookware, or metal ties. If using foil, use only narrow strips and allow at least one inch between the foil and the interior oven walls.
- The turntable makes noise or becomes stuc: Clean the turntable, roller ring, and oven floor. Make sure the turntable and roller ring are positioned correctly
- Causes TV or radio interference: This is similar to interference caused by other small appliances, such as hair dryers. Move your microwave (or appliance) away from appliances, such as your TV or radio.
- Vent Motor suction force is too weak: Set the vent mode to high. The Vent Fan will only operate in low speed mode while the microwave is working
- Operating noise is too loud: The MWO makes noise during operation. This is normal. If you hear an abnormal sound continuously, please contact the Samsung Call Center (1-800-726- 7864).
- Cook top lamp is too dim: Set the lamp brightness level to high.
- Difficult to replace Charcoal Filter: Please refer to the instructions for replacing the charcoal filter in the user’s manual
- Turntable rotates improperly: Make sure you have not put too much food on the turntable. If the food is too large or too heavy, the turntable may operate improperly.
Above is a snippet of the Samsung ME18H704SFG/AA manual. To get more detailed information, you can download the pdf manual that we attach below.